Getting Started with Node.js
In this section, we’ll cover the basics of setting up your Node.js environment and running your first Node.js script. This is the foundational step for diving into Node.js development, and it’s important to get comfortable with the setup and basic commands.
Installing Node.js
First, we need to install Node.js on your machine. Node.js comes with npm (Node Package Manager), which you’ll use to install libraries and frameworks.
Download Node.js: Visit the Node.js website and download the LTS (Long Term Support) version for your operating system.
Install Node.js: Follow the installation instructions for your OS. The installer will include npm.
Verify Installation: Open your terminal or command prompt and run the following commands to check if Node.js and npm are installed correctly:
bash node -v npm -vYou should see the version numbers for both Node.js and npm.
Understanding the Node.js Runtime
Node.js is a JavaScript runtime built on Chrome’s V8 JavaScript engine. It allows you to run JavaScript on the server side, outside of the browser. This is a major shift from traditional web development where JavaScript was primarily used for front-end scripting.
Running Your First Node.js Script
Let’s create a simple Node.js script to get you started.
Create a Project Directory:
bash mkdir my-first-node-app cd my-first-node-appInitialize a Node.js Project:
bash npm init -yThis command creates a
package.jsonfile, which will manage your project’s dependencies and scripts.Create a JavaScript File:
bash touch index.jsWrite Your First Script: Open
index.jsin your preferred code editor and add the following code:javascript // Importing the built-in 'http' module to create an HTTP server const http = require('http'); // Creating a server that responds with 'Hello, World!' to every request const server = http.createServer((req, res) => { res.statusCode = 200; // Setting the status code to 200 (OK) res.setHeader('Content-Type', 'text/plain'); // Setting the content type to plain text res.end('Hello, World!\n'); // Ending the response with 'Hello, World!' }); // Defining the port number where the server will listen for requests const port = 3000; // Starting the server and logging a message to the console server.listen(port, () => { console.log(`Server running at http://localhost:${port}/`); });Run Your Script:
bash node index.jsYou should see the message
Server running at http://localhost:3000/in your terminal.
Open a browser and go to
http://localhost:3000/to see your “Hello, World!” message.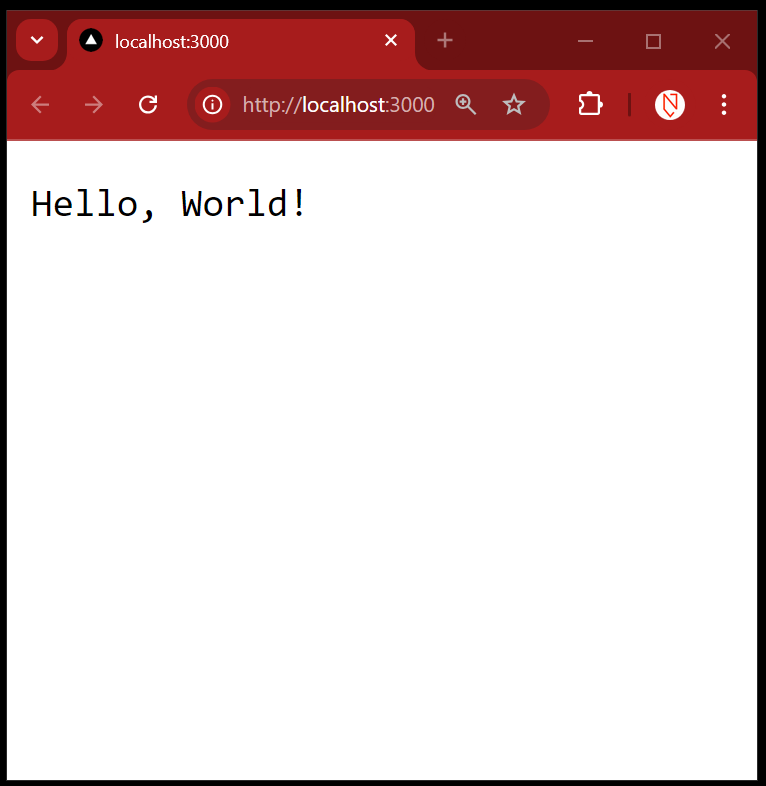
Using ES6 Modules in Node.js
We can use ES6 modules in Node.js by using the .mjs file extension and changing "main": "index.mjs", or by setting the type field in the package.json file to module.
Lesson task
Change the code and syntax to use ES6 modules.
Goal
The goal is for you to demonstrate that you can change a CommonJS module to an ES6 module.
Brief
NOTE: Lesson tasks do not get submitted on Moodle and are not assessed by tutors. They are mainly there for you to practise what you have learned in the lesson.
Level 1 process
- Modify the
index.jsorpackage.jsonfile to use ES6 modules.